
Explore More Enhancer Features
Enhancers Video is a video enhancer plus the photo tools around it, each capability with its own check to run.

Video Enhancer
Low resolution clips move up to 4K under the video enhancer, gain 60fps motion, and have their noise cleared in the same workflow, and then you pull the worst frame to full size to confirm the edges actually separated. This is the video enhancement core of Enhancers Video.

Image Enhancer
Still photos run through the image enhancer, upscaled as far as 8K with content aware detail added back, so you can zoom to 100 percent and watch whether content fitting texture returns or the picture just grows larger. This ai image enhancer handles the stills sitting around a project.

Face Enhancer
Every face in the shot has its detail rebuilt, with pores and stray hairs back in focus, so you can enlarge a face and read whether the skin looks natural rather than plastic. Detail comes back on the same face you uploaded, with no face swapping and no new faces generated.

Graphic Enhancer
Logos, illustrations, and old anime frames climb to print resolution as the graphic enhancer holds their edge lines clean, which lets you enlarge a flat color block and check that it has not gone blotchy.
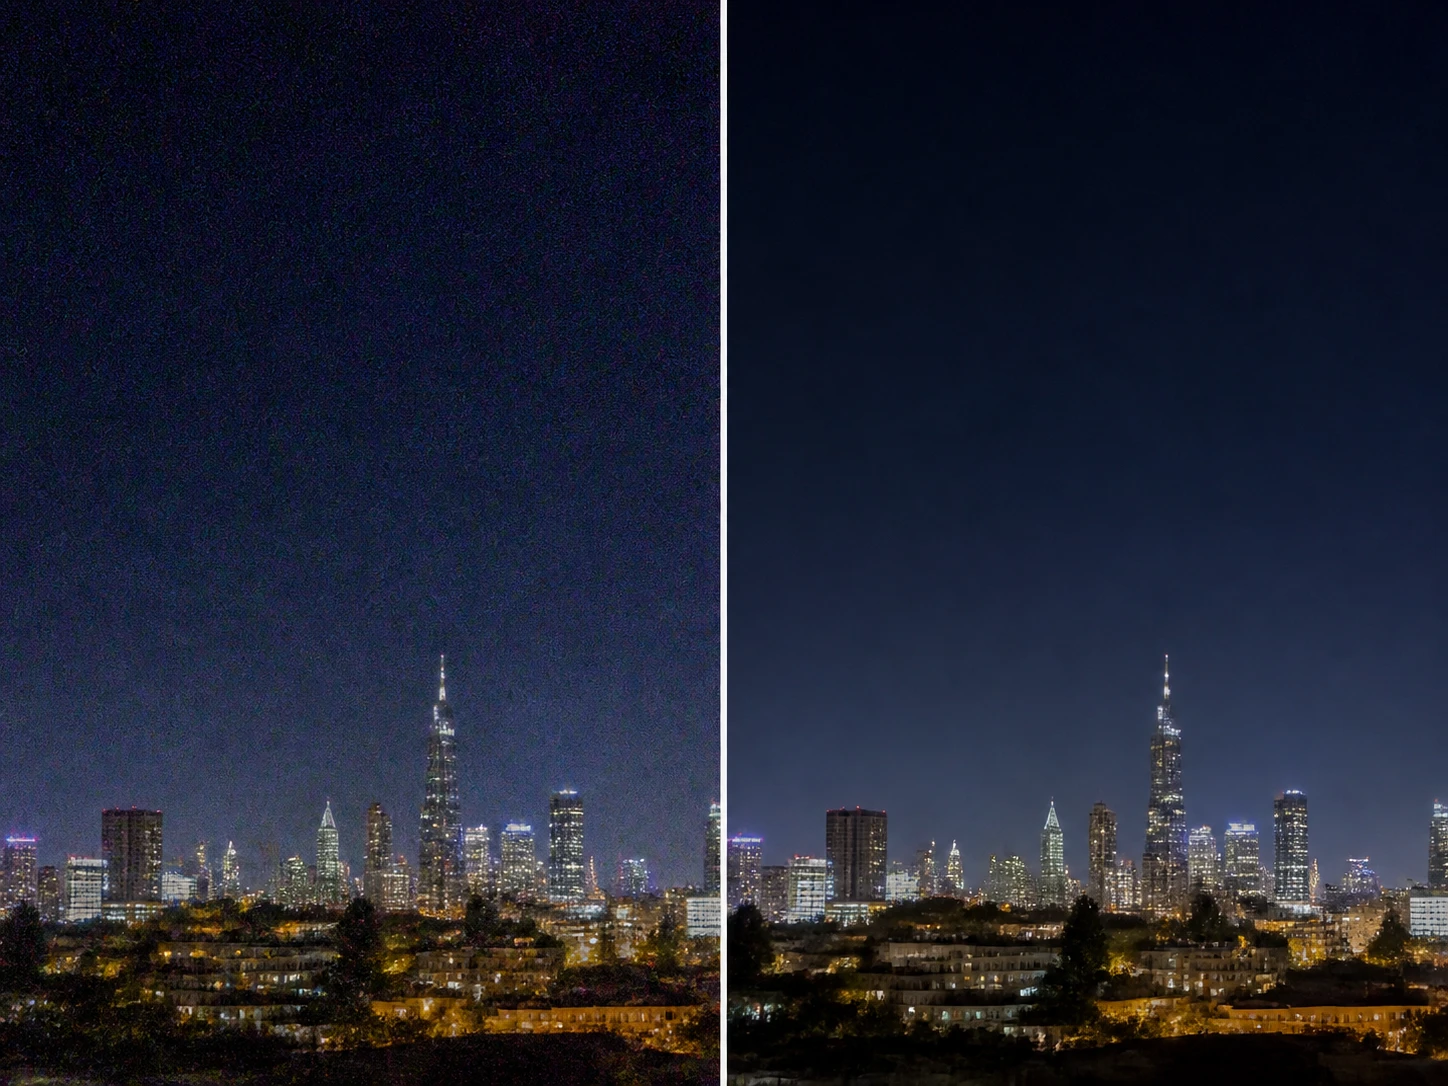
Image Denoise
Photo grain, high ISO speckle, and compression blocks are reduced cleanly by the image denoise tool, and because denoise sits in the same workflow you can keep upscaling afterward, so pick a flat wall or a patch of sky and see whether it reads clean without turning waxy.

Image Sharpen
Soft, slightly out of focus, and mildly motion blurred pictures get their clarity rebuilt according to what caused the blur, with only the soft regions touched, so you can enlarge an edge and watch it separate instead of ringing with a halo.
Three Source Types, Three Kinds Of Headroom
Editors Handling Reshared, Recompressed Copies
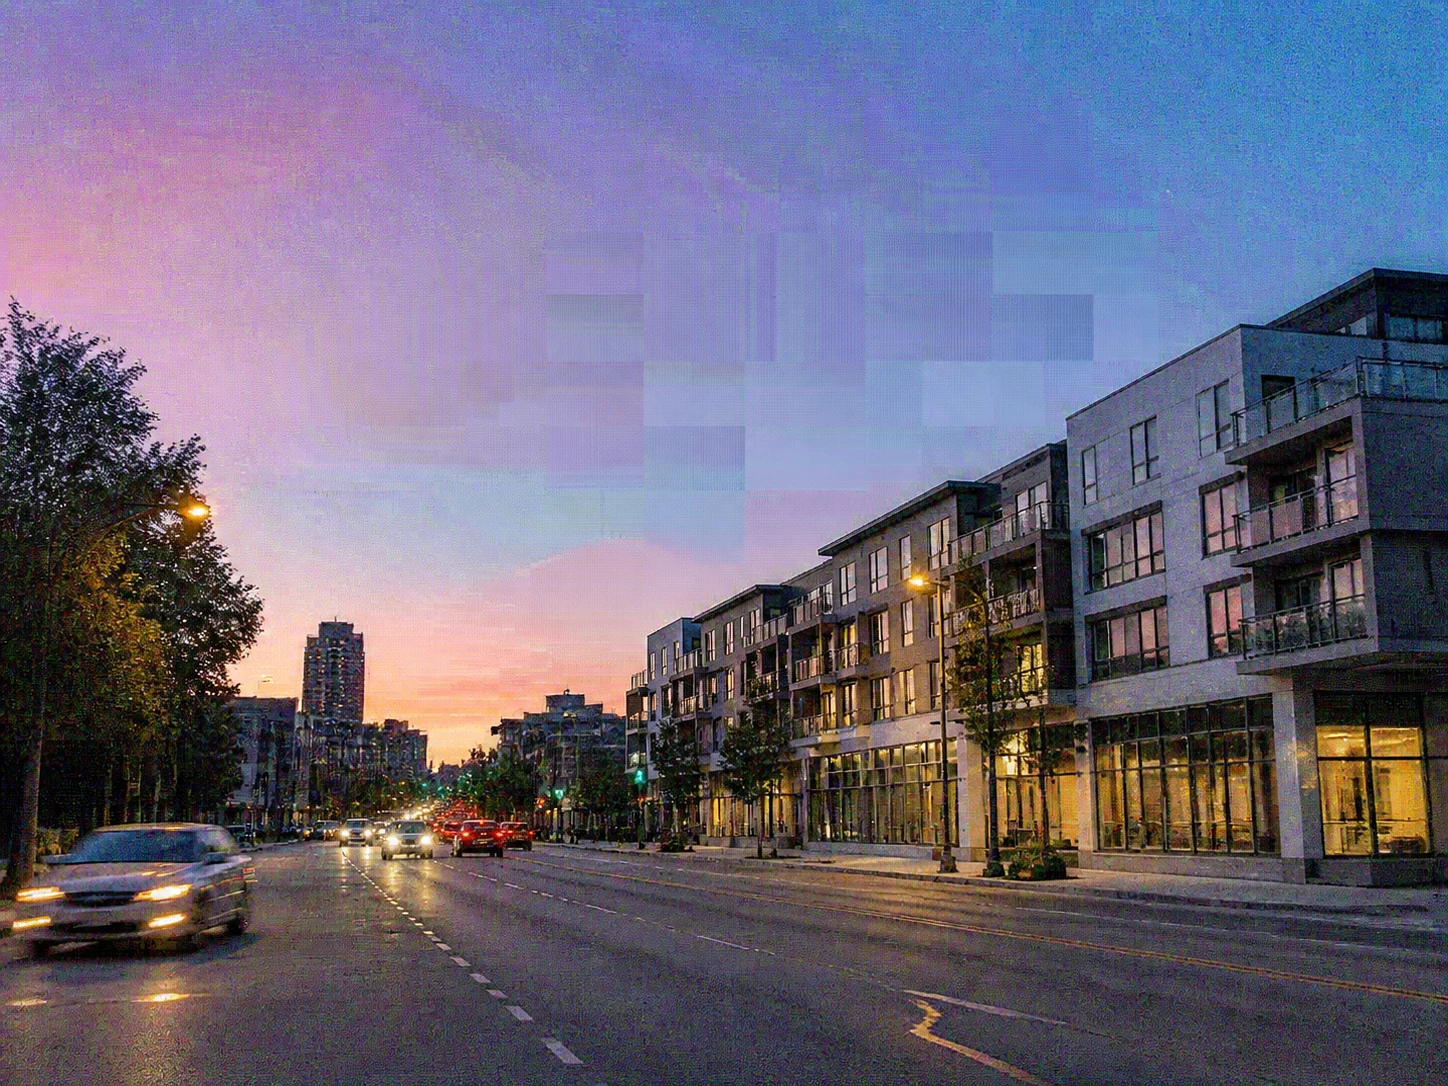
The file in your hands has passed through several sets of hands, and the marks on the picture were not all made at the same moment. Some damage was baked in when the clip was first shot, some was dropped during a later export in the middle, and the last person only flattened it all into one frame. The video enhancer lets you work on the copy you have while you sort which problems came from which step, because a fix belongs wherever the artifact was actually introduced. Tell them apart first, and the video enhancer gives the rest of the conversation somewhere to begin.
Game Capture And Livestream Replay Creators
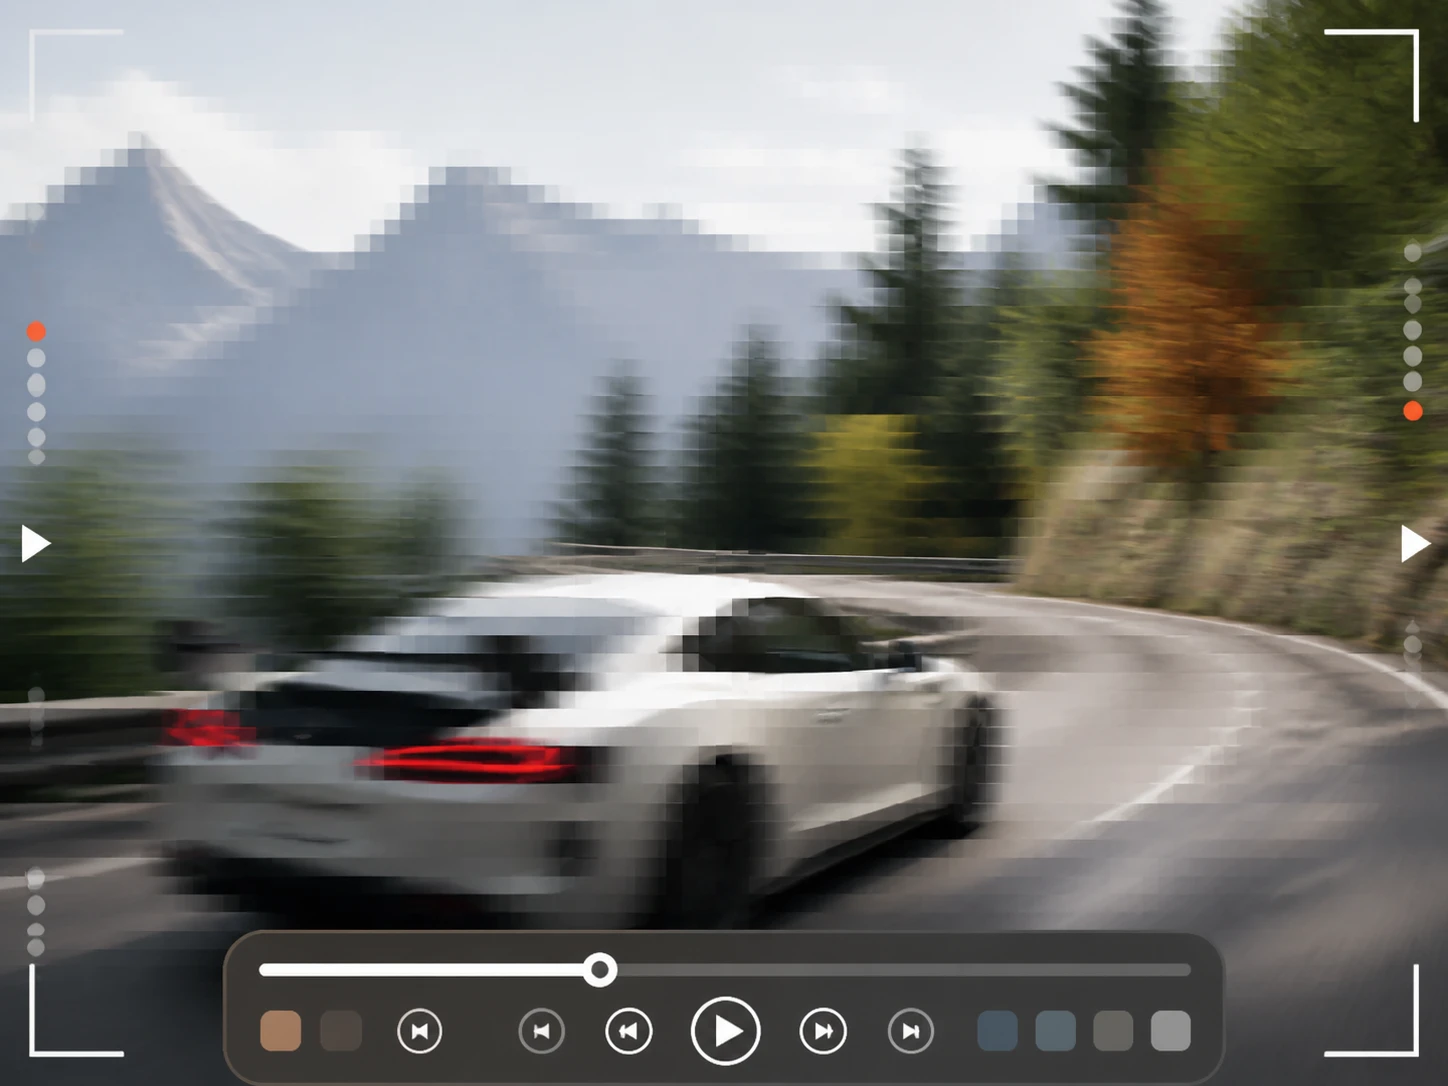
Recordings from gameplay and stream replays usually start with plenty of frame size, since the capture was native 1080p or 1440p to begin with. What breaks is the other pair: the blocks that pile up when the bitrate cannot keep pace with fast motion, and the judder in quick pans. Growing the frame is rarely the answer these clips need, so this ai video enhancer lets you clear the compression and smooth the motion instead of stretching a picture that was already large enough. Here the video enhancer leaves the frame size where it is, since a 4k video enhancer answers frame size and that is not what broke here.
Post Editors Wrangling Mixed Source Clips
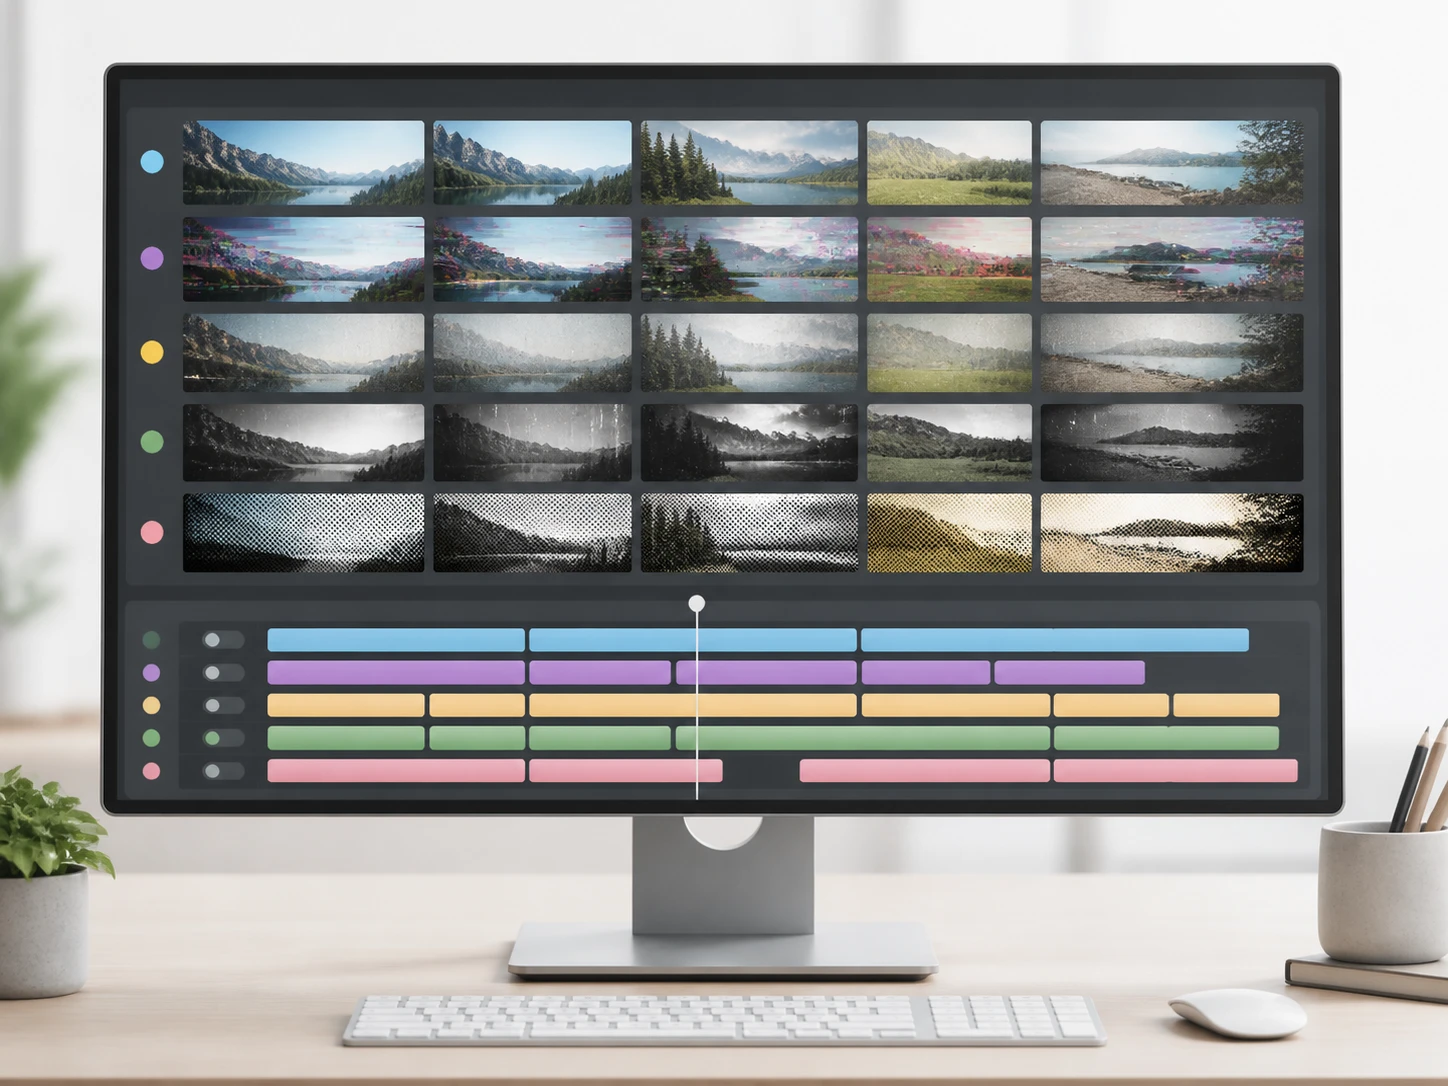
A single timeline pulls in clips from all over, and before any of them go on the track they need sorting by what is wrong with each one. Some will run clean, some will run and still look ordinary, and some are damaged past the point where a reshoot is the honest call. Sorting that footage by problem class up front is what decides which clips reach the video enhancer at all, so you schedule the work knowing which ones are worth the pass and which ones are not. Grouping the source before you start is the whole point of the video enhancer here.
Five Problems A Video Enhancer Handles
One idea per card: name the specific problem on your clip, then let the video enhancer take the path that actually addresses it.

Five Problems Hiding Under One Word
A video quality enhancer earns its keep when you stop saying the picture looks bad and start naming which of five things it is: blur, noise, compression blocks, a small frame, or stutter. The causes differ, the paths differ, and how much each one gives back differs too, and the video enhancer meets most clips carrying two or three of them stacked together. Swap the vague word for the specific ones, and you know which path the clip needs.
No Switches To Decide First
With Enhancer.video you do not have to work out which controls to open before anything happens. By default this online video enhancer picks a model matched to your source and fills the settings for you, so you drop the clip in and the video enhancer starts. When you would rather steer, choose a model or a use case yourself and the video enhancer follows that choice. Either way the ai video quality enhancer does the setup, and you keep the final say.

Resolution Is Not The Same As Information
Adding pixels solves one thing only: the frame size, which is all it means to enhance video resolution. When the frame is genuinely too small, this video resolution enhancer takes any source below 4K up to a 4K ceiling, and that helps. But if the information was thrown away when the file was compressed, the video enhancer just holds the same content spread wider across more pixels. That is why you upscale video to 4k only after you confirm what you are short on is frame size, since these two things do not solve the same problem.

Noise, Blocks, And Blur Are Three Things
Colored speckle in the shadows from low light or high ISO is noise; the big tidy squares and smeared color from repeated exports are compression; edges that never separate are blur. This video denoiser treats the three along three routes in the same processing run, and while the video enhancer clears noise it keeps telling noise apart from real texture, so the speckle drops away while the detail that belongs to the content stays. As a video clarity enhancer that matters, because one blanket blur across all three would only enlarge the other two.
How The Video Enhancer Runs Your Clip
Three steps with the video enhancer, from naming the problem on your own footage to keeping the finished file.
Name The Problem, Then Upload
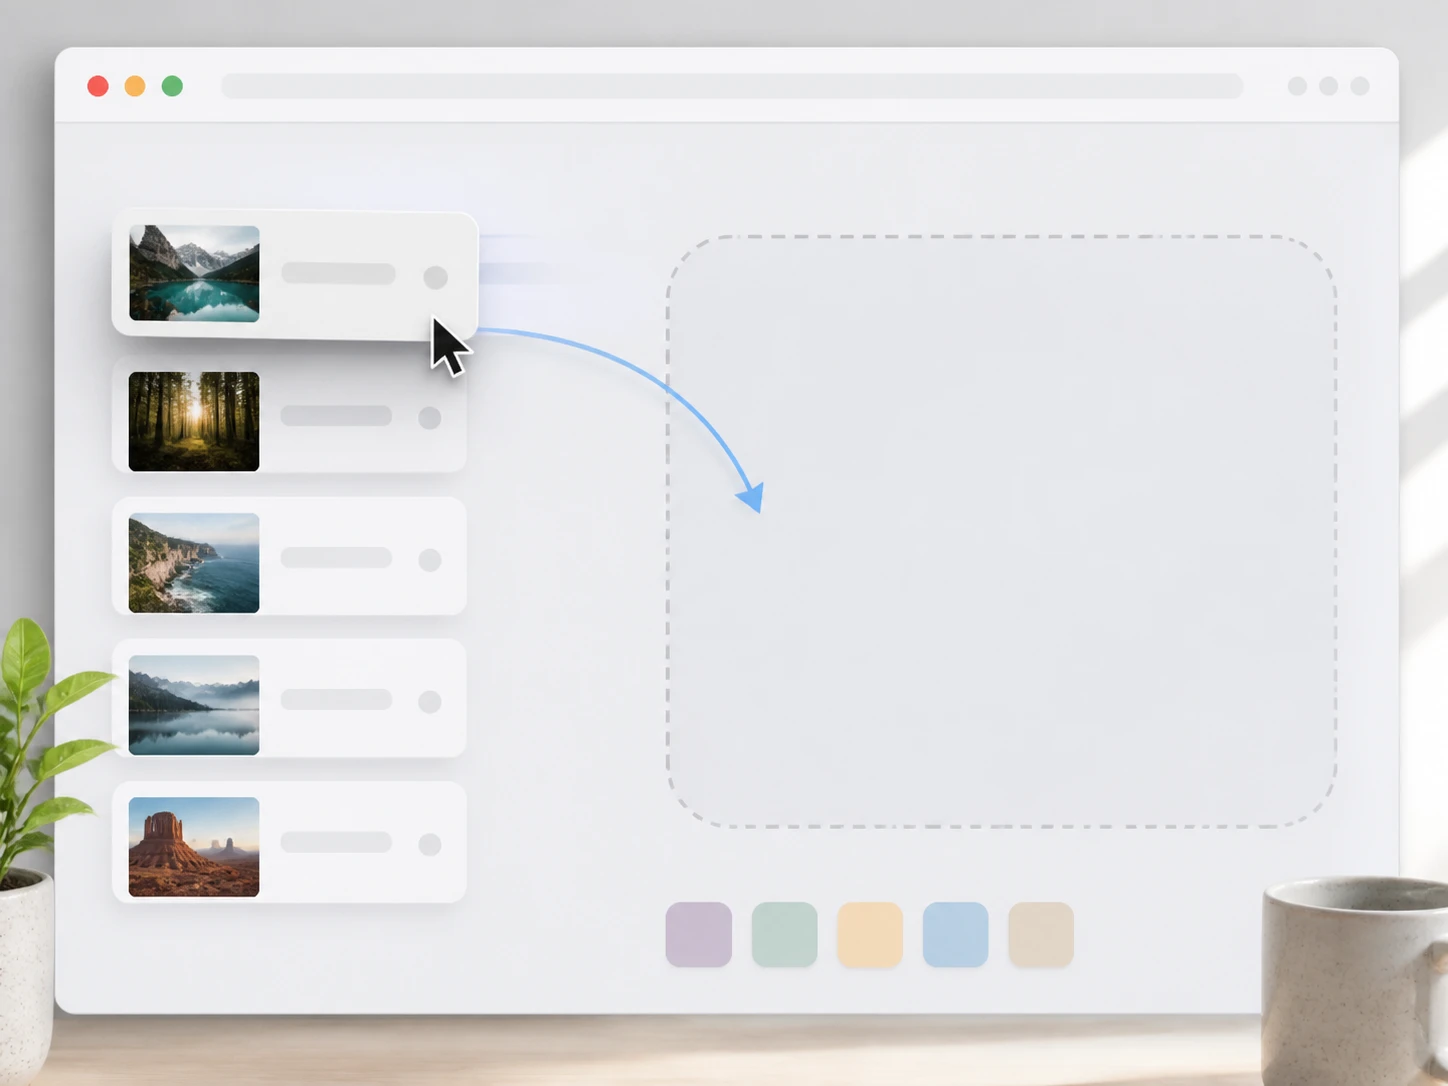
Before anything else, look at your own clip and decide which of the five it is carrying, using the same words from the top of the page. Then drag the file in or click to upload, in MP4 or MOV, and more than one clip at a time is fine. The video enhancer runs in the browser, with no software to install and no particular graphics card to worry about.
Choose Which Fixes To Run
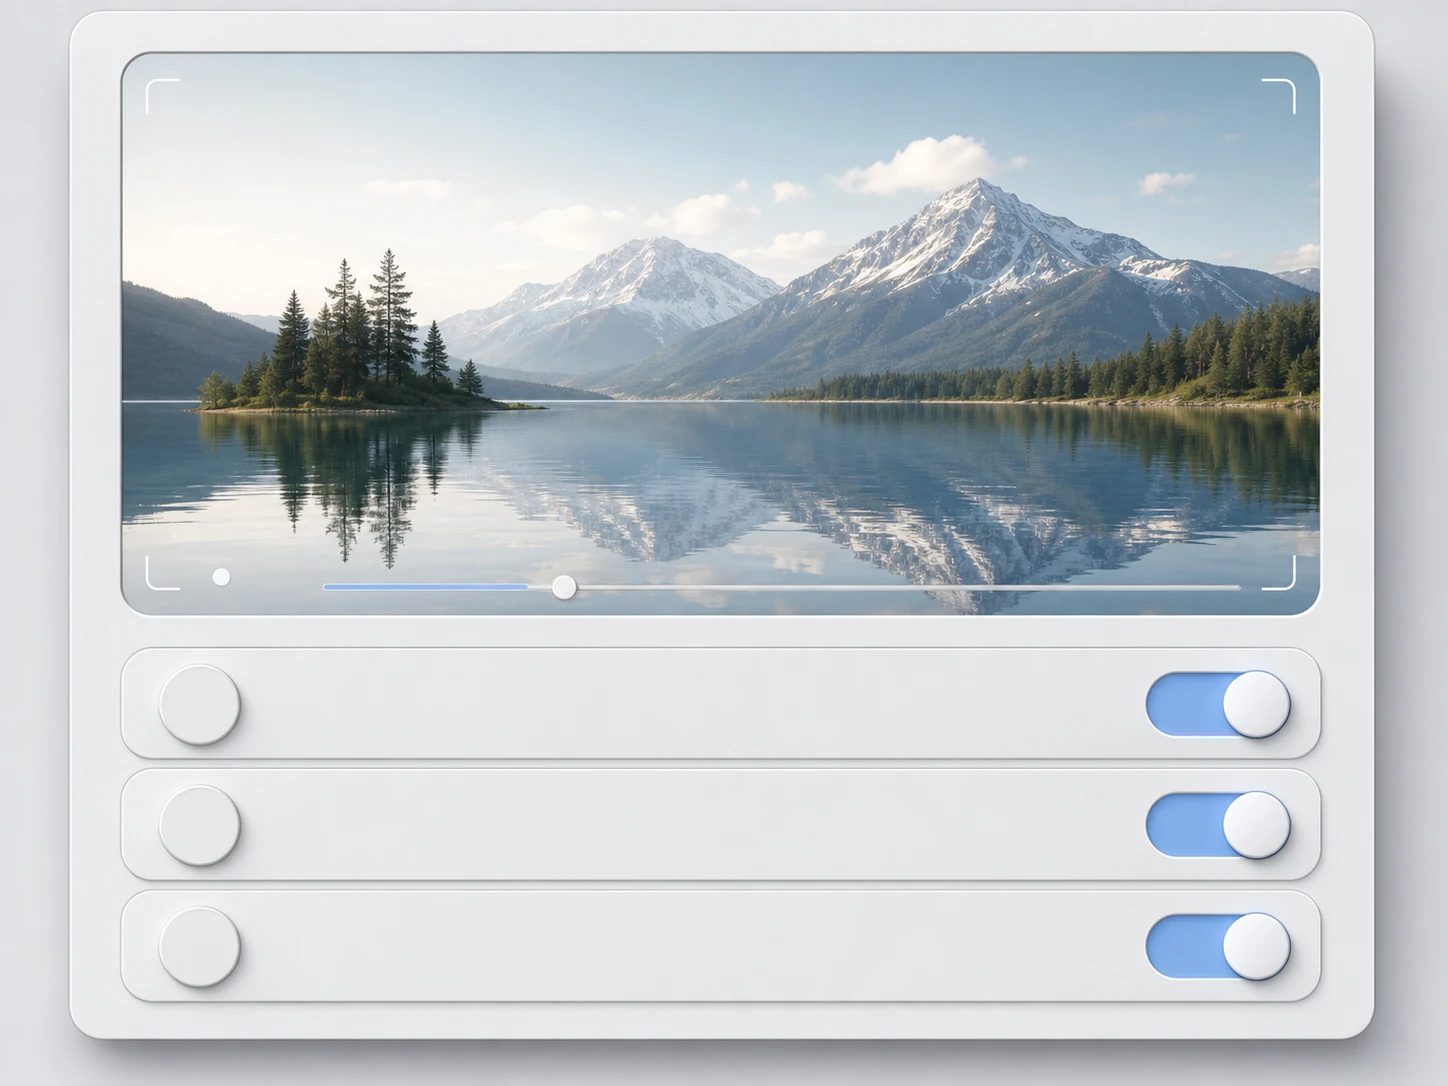
Go by the items you actually need handled: whether the frame size changes, whether motion fills out to 60fps, and whether noise and compression blocks get cleared. Those are independent choices, and the video enhancer runs them together in the same processing run. Leave it on automatic and the video enhancer matches a model to your source and fills the settings, or pick a model or use case yourself when you want to steer.
Collect The Finished File
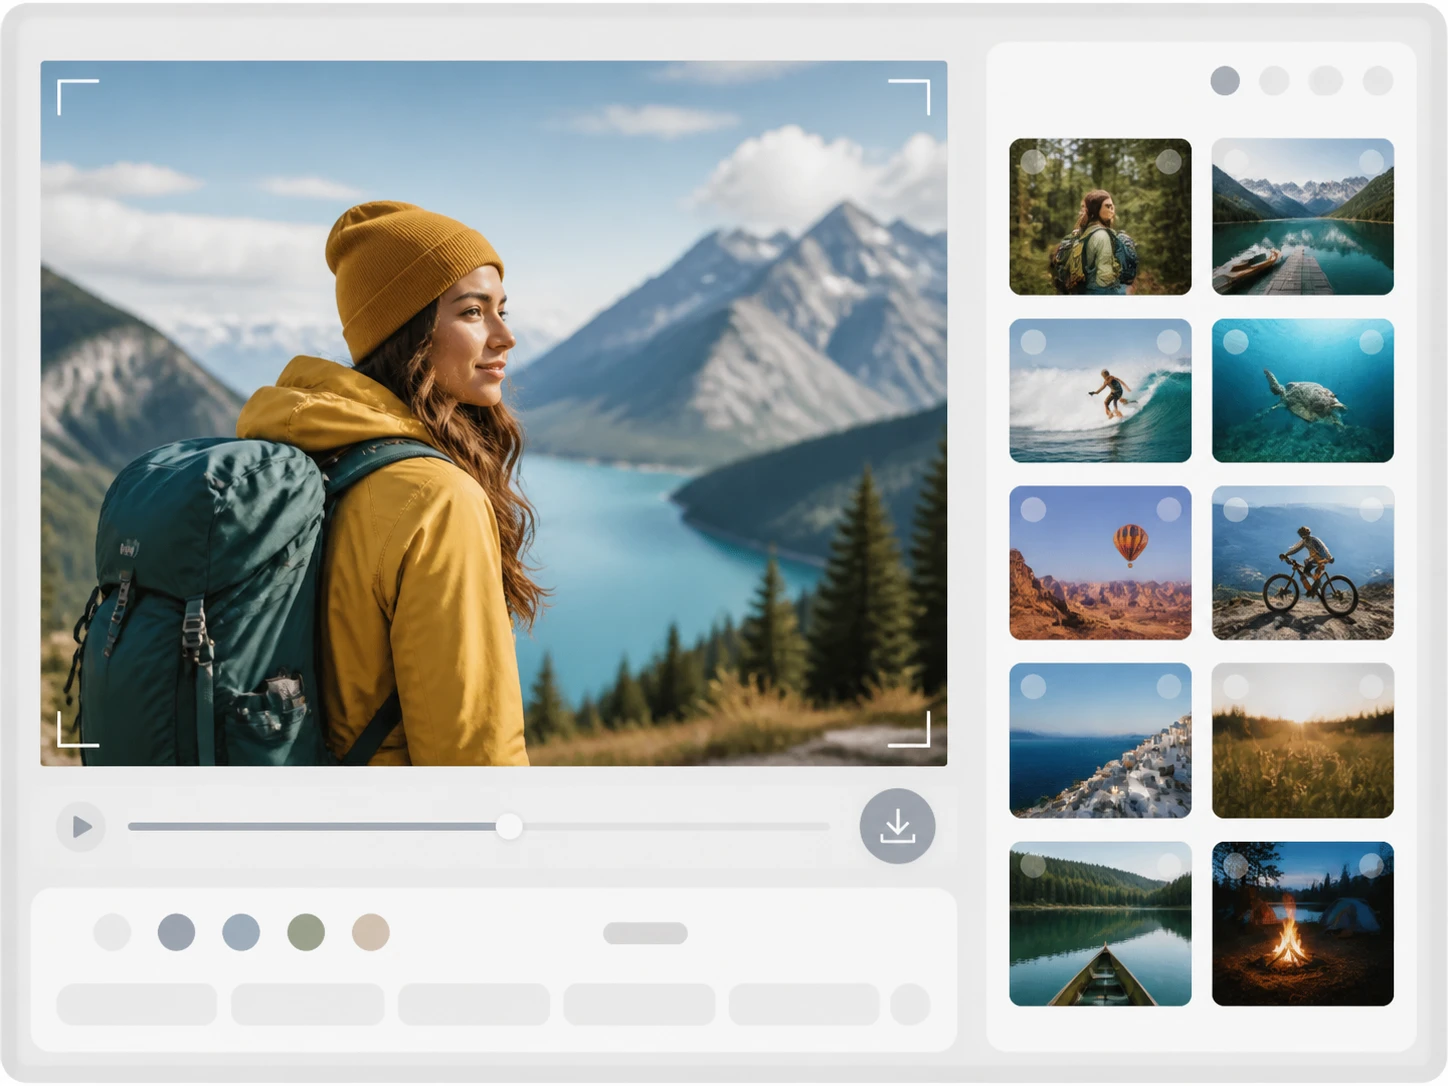
Download the result from the video enhancer, with no watermark on it. The finished clip stays in your Enhancer.video account space, where the video enhancer keeps your processing history reachable, so you can step away and come back for it whenever you need it rather than racing to save it right then.
Common Footage A Video Enhancer Takes On
Four common starting points, and how naming the problem changes what each one needs from the video enhancer.
Enhance Old Video
Old footage tends to sit with several problems at once: the frame was small to begin with, the source carried its own noise, the lens was soft, and the transfer that digitized it squeezed it one more time. Each of those has a different amount left to give, so decide which one matters most before you spend a pass on the video enhancer, and you stop expecting the picture to recover things that were never in it.
Enhance Video To 4K
Start by confirming that a small frame is what you are actually short on. If it is, take it up: any source under 4K can go to the 4K ceiling, which is the one job an hd video enhancer is for. But when the squares on screen came from compression, the video enhancer will not put back what was squeezed out by adding pixels, because growing the grid and rebuilding lost information are two different jobs on the same clip.
Enhance Youtube Video
Upload, download, trim, upload again: the marks on a channel clip were not all made in the same step, and not all by the last hand. Some were baked in at the shoot, some dropped during a later export along the way. Whether the file you kept is the original export or a copy three generations down decides how much room the video enhancer has to work with, so trace where each mark came in before you judge what is left.
Enhance Low Quality Video
The phrase low quality tells you nothing by itself. Replace it with the one that fits: edges that never split, colored speckle in the shadows, big blocky smeared color, a frame that was always too small, or motion that stutters as it moves. Once you have named it, you point the video enhancer down that path and the finished clip has an honest target.
A Video Enhancer, Question By Question
Bring The Video Enhancer Your Toughest Clip
Start with the one clip you can least describe, name what is wrong with it, and let the video enhancer ai show how much is left to give. You get 10 free credits to begin with Enhancer.video, and signing up and claiming them needs no credit card.